TomatoCart Tutorial – How to create Mysql Database for your Tomatocart Online Store
Jun 06, 2012, by admin
 As you may know MySQL databases are being created and maintained via the cPanel control panel. The unified tool through which you get total control over the hosting account, in terms of managing it technically, create emails, databases, see statistics, park domains and much more.
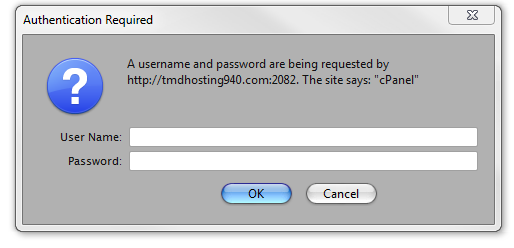
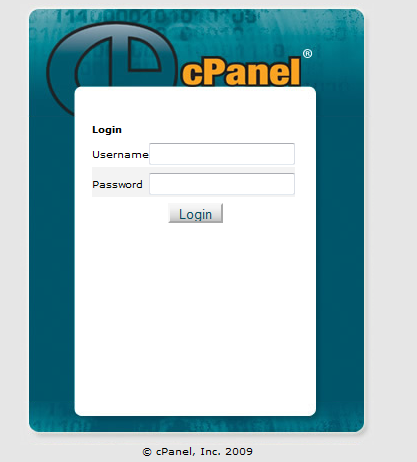
You can login in your cPanel using the details from the welcome email, which we have mentioned earlier. cPanel is usually located at http://yourdomain.com/cpanel , where http://yourdomain.com should be substituted with your real domain, in order to be redirected to the right login form and server, correspondingly. Depending on if you have logged in or not yet, you should spot either this:
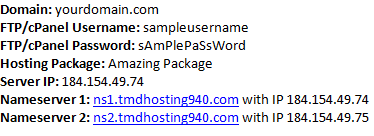
 In both cases, you should authenticate with the details provided in the welcome email:
 Once in your cPanel, scroll down to the Databases part and click on the MySQL database wizard tool icon:
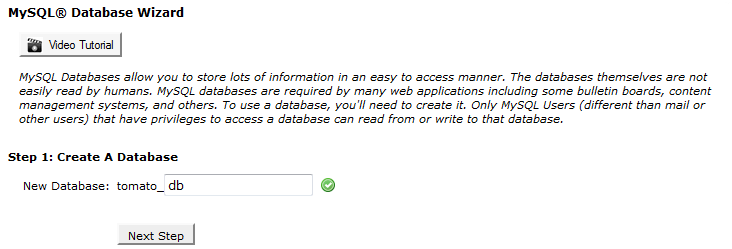
 When the page loads, you will be on Step 1 of 3 for creating a MySQL database and assign a user to it. The MySQL database is used by TomatoCart to read and store information about your visitors and products, your settings and statistics. You can start by giving the database a name. For example, you can call it “db”. Upon creation, the database will be prefixed with your cPanel username and a _ sign. Here is how it goes:
 Upon completion, you will be redirected to Step 2 of 3. It is divided in two parts. The first confirms you have created a new database:
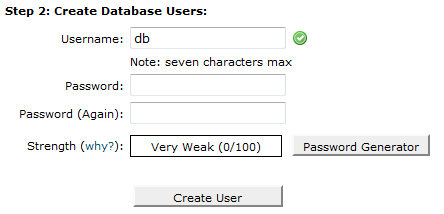
 As you can see, in this tutorial, the cPanel username is “tomato” and the database name we have chosen is “db”. Therefore, the name of the database we should write down, as we will need it during the installation is “tomato_db”. In order for TomatoCart to use this database, though, it should authenticate. This is why, the second part of Step 2 is to create a MySQL user. We suggest using the Password generator tool, as shown below to generate the password. You will most probably never need this password, thus do not choose any of your common passwords, but use the one that will be generated by the tool. So, first you pick a name of the user and it is recommended to be the same, as the database. Then, you fill “db” in the first box:
 Click on the Password generator link on the right afterwards. You will be taken to a page, which has already generated a password for you. This password should be copied to the same place, where you have stored the name of the database, so you can use it for the installation:
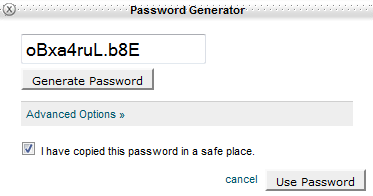 Once you write it down, tick the “I have copied this password in a safe place” (and double-check you really did), then click the “Use Password” button. It will insert the password in the form you have been filling, which should look like this at the end:
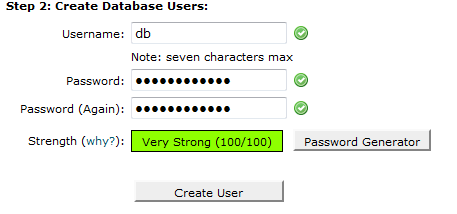 The third check if you have copied the details at a safe place takes place here. Once sure, click on the “Create User” button and advance to Step 3.
Just like in Step 2, Step 3 is divided in two part. The firs part is a confirmation for successful Step 2:
 As you can see, the username is the same as the database (including the prefix) – tomato_db – this means a database named “db” of cPanel user named “tomato”. The rest of Step 3 is about giving the newly created username access to the newly created database. It takes place by clicking on the “ALL PRIVILEGES” checkbox, which automatically populates the checkboxes below it:
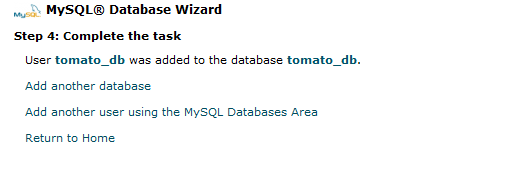
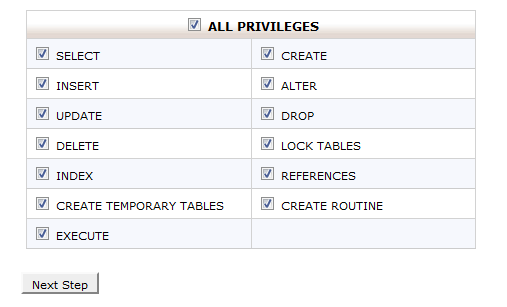 Finally, click the “Next Step” button and, if you see a screen like this then you are good to go:


